
【Golang玩转本地大模型实战(二):基于Golang + Web实现AI对话页面】

文章目录
- 前言
- 一、整体实现思路
- 二、SSE 协议实现的 AI 对话
- 什么是 SSE?
- 实现流程概述
- 1. 后端 Golang 服务
- 2. 前端页面
- 三、WebSocket 协议实现的 AI 对话
- 什么是 WebSocket?
- 实现流程概述
- 1. 后端 Golang 服务
- 2. 前端页面
- 四、演示效果
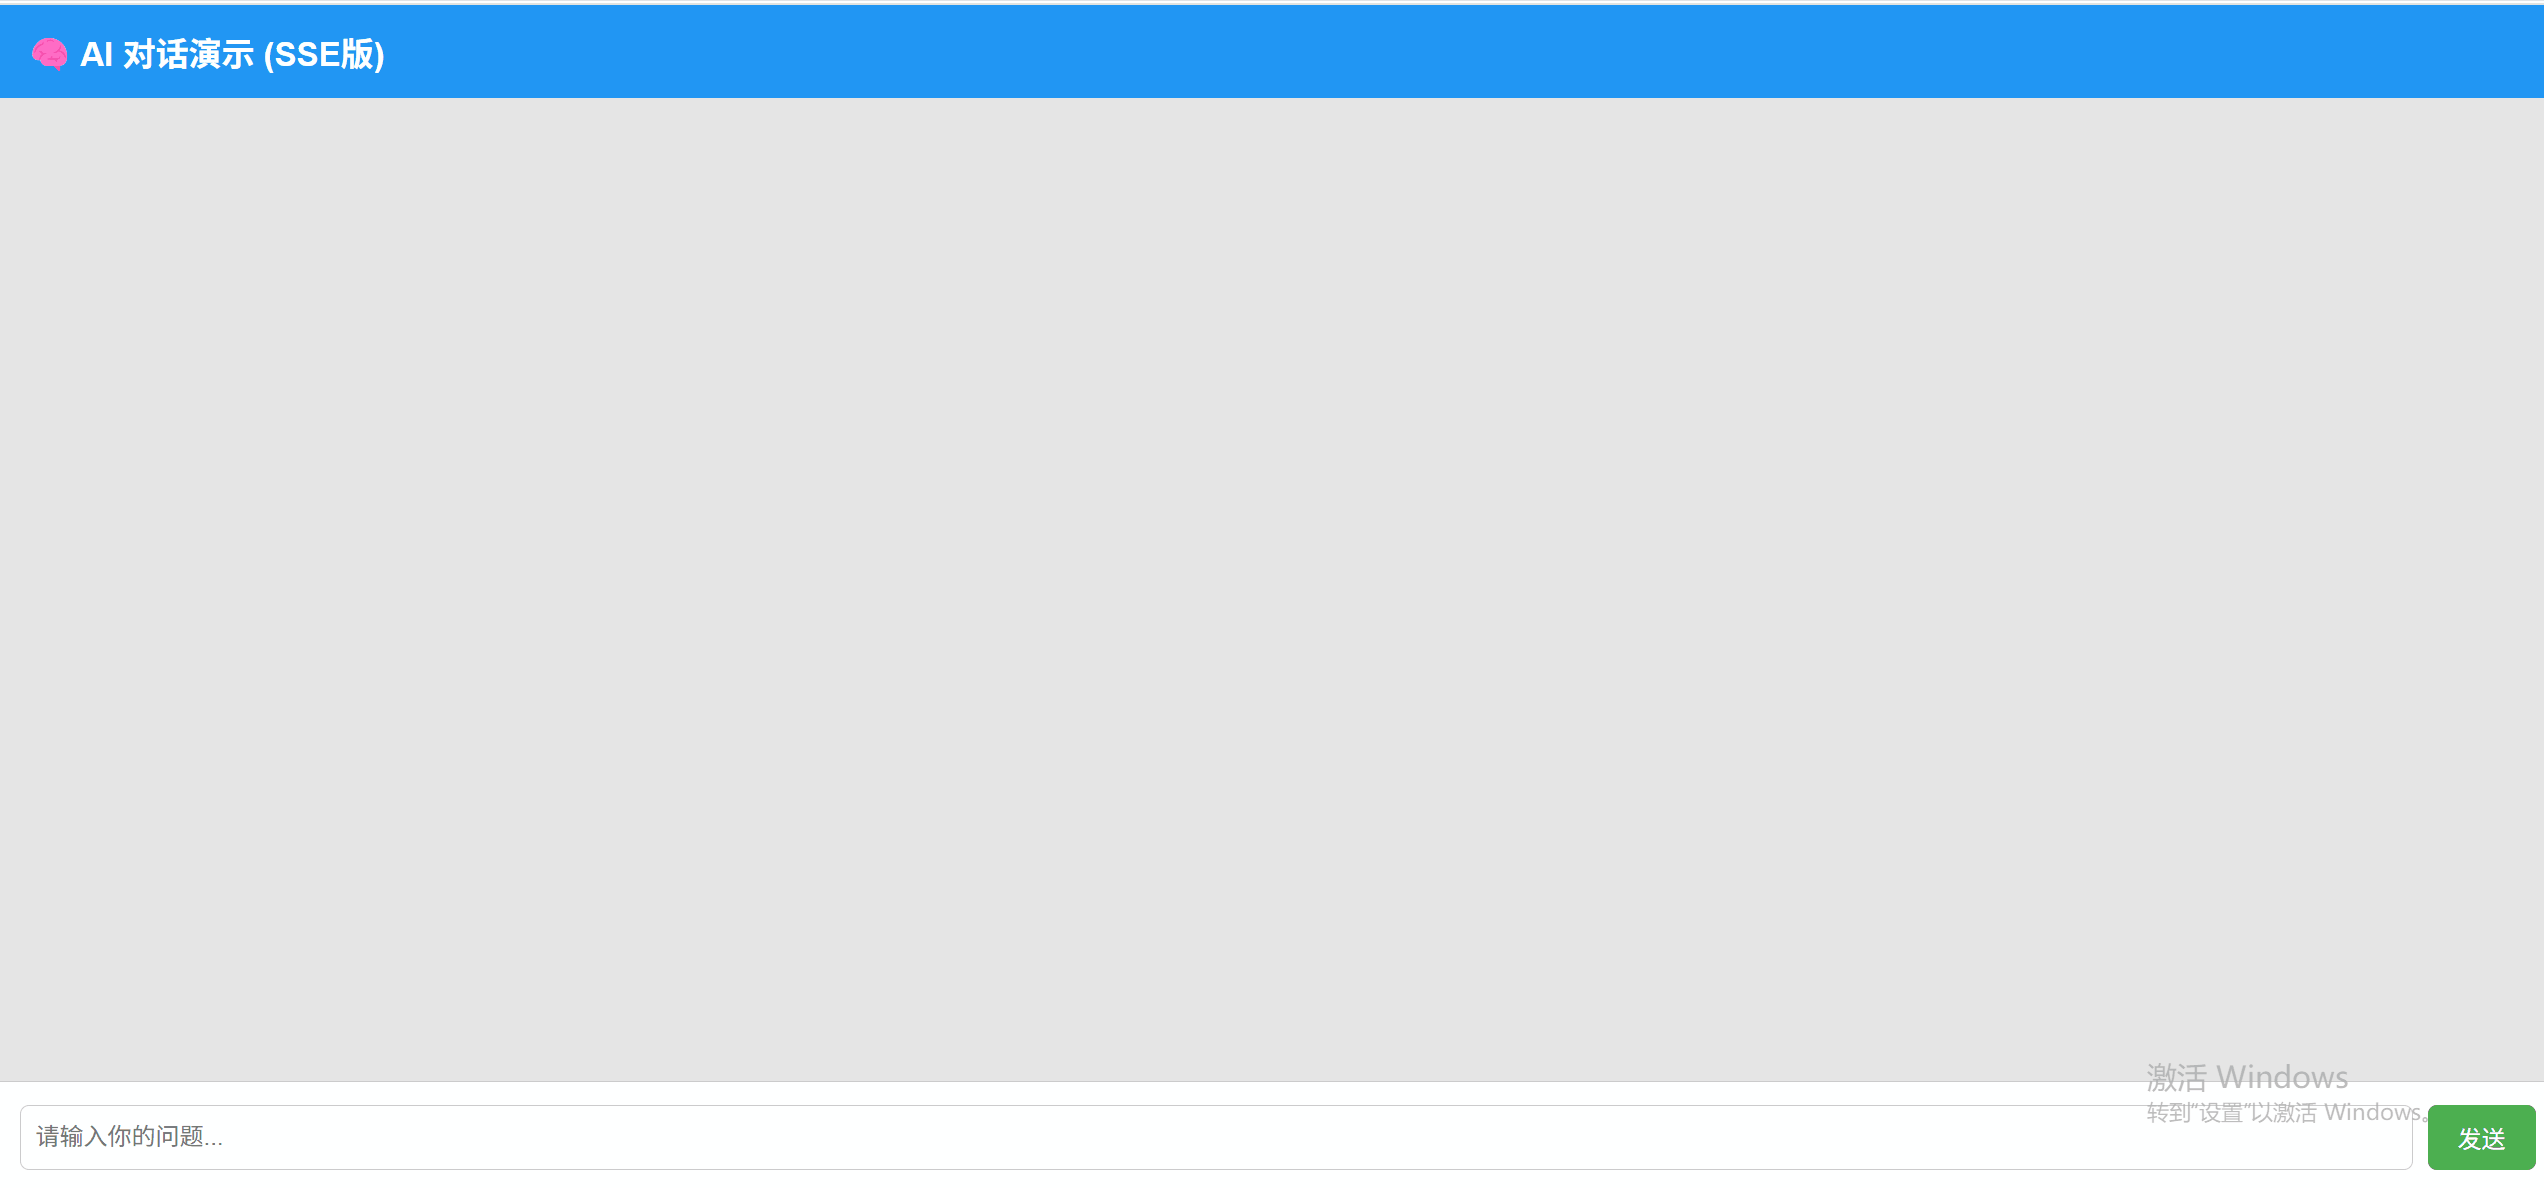
- SSE 实现效果:
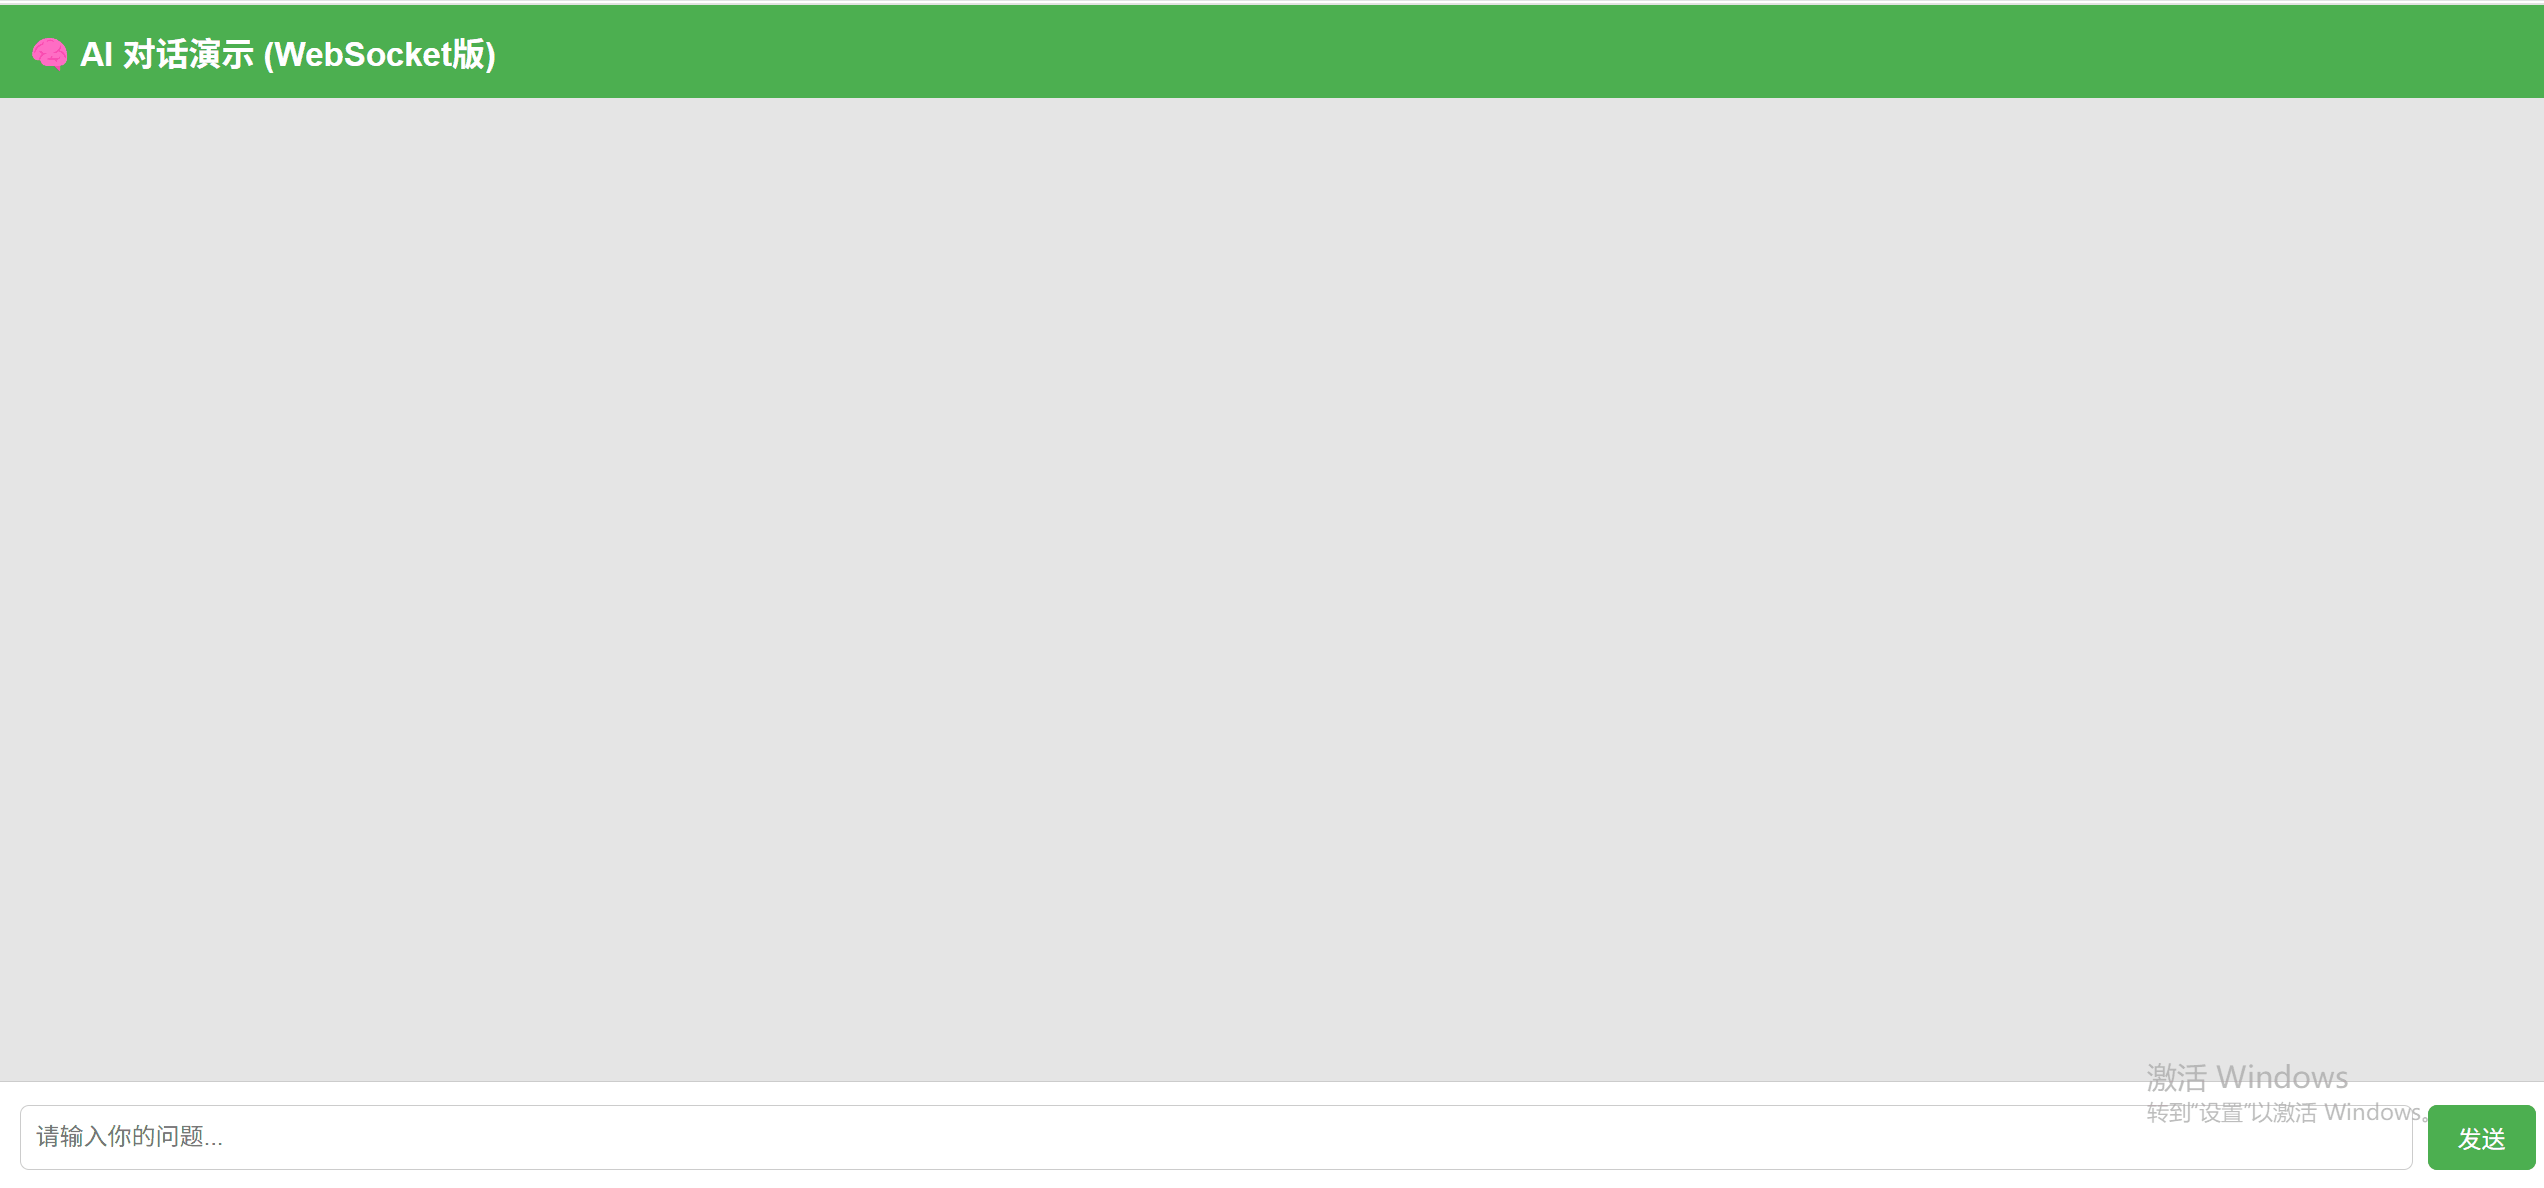
- WebSocket 实现效果:
- 五、总结
- 参考文献
前言
在上一篇文章中,我们学习了如何通过 Ollama 在本地部署大模型,并使用 Golang 实现了流式与非流式的 API 调用。
本篇将继续实战,目标是打造一个完整的 网页端 AI 对话系统。该系统基于前后端协作,通过 WebSocket 和 SSE(Server-Sent Events)两种流式传输协议,实现模型回复的实时展示效果。
最终实现效果为:
用户在网页输入问题,模型实时生成回答,前端页面逐字展示,交互体验类似 ChatGPT。
一、整体实现思路
本次项目的基本流程如下:
- 用户在前端页面输入问题并提交;
- Golang 后端接收请求,调用本地 Ollama 模型 API;
- 模型输出以流式方式返回;
- 后端通过 SSE 或 WebSocket 协议,将模型输出逐步推送到前端;
- 前端接收并实时渲染,实现流畅的“打字机式”回答效果。
二、SSE 协议实现的 AI 对话
什么是 SSE?
SSE(Server-Sent Events)是一种基于 HTTP 的单向推送协议,允许服务器持续向浏览器发送数据。
- 特点:
- 建立在 HTTP 协议之上;
- 天然支持流式传输,顺序性好;
- 实现简单、浏览器原生支持;
- 仅支持服务器向客户端单向推送(不支持客户端主动通信);
- 适用于生成式模型这类持续输出的场景。
结论:SSE 是构建大模型“逐字输出”效果的理想协议。
实现流程概述
1. 后端 Golang 服务
main.go文件下:
package main
import (
	"bufio"
	"bytes"
	"encoding/json"
	"fmt"
	"net/http"
)
type ChatRequest struct {
	Model    string `json:"model"`
	Stream   bool   `json:"stream"`
	Messages []struct {
		Role    string `json:"role"`
		Content string `json:"content"`
	} `json:"messages"`
}
func streamChatHandler(w http.ResponseWriter, r *http.Request) {
	// 设置SSE响应头
	w.Header().Set("Content-Type", "text/event-stream")
	w.Header().Set("Cache-Control", "no-cache")
	w.Header().Set("Connection", "keep-alive")
	// 读取用户提交的问题
	userInput := r.URL.Query().Get("question")
	if userInput == "" {
		http.Error(w, "missing question param", http.StatusBadRequest)
		return
	}
	// 准备请求体
	reqData := ChatRequest{
		Model:  "deepseek-r1:8b",
		Stream: true,
	}
	reqData.Messages = append(reqData.Messages, struct {
		Role    string `json:"role"`
		Content string `json:"content"`
	}{
		Role:    "user",
		Content: userInput,
	})
	jsonData, err := json.Marshal(reqData)
	if err != nil {
		http.Error(w, "json marshal error", http.StatusInternalServerError)
		return
	}
	// 调用本地Ollama服务
	resp, err := http.Post("http://localhost:11434/api/chat", "application/json", bytes.NewBuffer(jsonData))
	if err != nil {
		http.Error(w, "call ollama error", http.StatusInternalServerError)
		return
	}
	defer resp.Body.Close()
	// 流式读取模型输出
	scanner := bufio.NewScanner(resp.Body)
	flusher, _ := w.(http.Flusher)
	for scanner.Scan() {
		line := scanner.Text()
		if line == "" {
			continue
		}
		var chunk struct {
			Message struct {
				Content string `json:"content"`
			} `json:"message"`
			Done bool `json:"done"`
		}
		if err := json.Unmarshal([]byte(line), &chunk); err != nil {
			continue
		}
		// 通过SSE格式发送到前端
		fmt.Fprintf(w, "data: %s\n\n", chunk.Message.Content)
		flusher.Flush()
		if chunk.Done {
			break
		}
	}
}
func main() {
	http.Handle("/", http.FileServer(http.Dir("./static"))) // 静态文件
	http.HandleFunc("/chat", streamChatHandler)             // SSE接口
	fmt.Println("Server running at http://localhost:8080")
	http.ListenAndServe(":8080", nil)
}
这段代码的主要功能是:
-
提供静态文件服务(网页)
- 使用 http.FileServer 让浏览器访问 ./static 目录下的 HTML 页面。
-
实现 /chat 接口
- 接收前端输入的问题(通过 URL 参数 ?question=xxx);
- 构造请求体,调用本地 Ollama API(模型推理);
- 使用 Scanner 流式读取模型输出;
- 将每段输出通过 SSE 协议 推送给前端浏览器,实现打字机式显示效果。
2. 前端页面
在 static 目录下,新建一个简单页面:
static/index.html:
🧠 AI 对话演示 (SSE版) body { margin: 0; height: 100vh; display: flex; flex-direction: column; font-family: "Helvetica Neue", Arial, sans-serif; background: #f0f2f5; } header { background: #2196F3; color: white; padding: 15px 20px; font-size: 22px; font-weight: bold; box-shadow: 0 2px 4px rgba(0,0,0,0.1); } #chat-area { flex: 1; overflow-y: auto; padding: 20px; background: #e5e5e5; } .message { margin-bottom: 15px; display: flex; flex-direction: column; } .user, .ai { font-weight: bold; margin-bottom: 5px; } .user { color: #4CAF50; } .ai { color: #2196F3; } .text { background: #ffffff; padding: 12px; border-radius: 8px; max-width: 80%; white-space: pre-wrap; font-size: 16px; line-height: 1.6; border: 1px solid #ccc; } #input-area { display: flex; padding: 15px; background: #fff; border-top: 1px solid #ccc; } #question { flex: 1; padding: 10px; font-size: 16px; border: 1px solid #ccc; border-radius: 6px; } button { margin-left: 10px; padding: 10px 20px; font-size: 16px; background: #4CAF50; color: white; border: none; border-radius: 6px; cursor: pointer; } button:hover { background: #45a049; } 🧠 AI 对话演示 (SSE版)发送const chatArea = document.getElementById('chat-area'); const questionInput = document.getElementById('question'); const sendButton = document.getElementById('send-button'); let isReceiving = false; // 是否正在接收回复 function sendQuestion() { const question = questionInput.value.trim(); if (!question || isReceiving) { return; } isReceiving = true; questionInput.disabled = true; sendButton.disabled = true; // 创建用户消息 const userMessage = document.createElement('div'); userMessage.className = 'message'; userMessage.innerHTML = ` 👤 你 ${question} `; chatArea.appendChild(userMessage); // 创建AI回复占位 const aiMessage = document.createElement('div'); aiMessage.className = 'message'; aiMessage.innerHTML = ` 🤖 AI ${Date.now()}"> `; chatArea.appendChild(aiMessage); chatArea.scrollTop = chatArea.scrollHeight; // 滚动到底部 const aiResponseDiv = aiMessage.querySelector('.text'); let bufferText = ""; const eventSource = new EventSource(`/chat?question=${encodeURIComponent(question)}`); eventSource.onmessage = function(event) { // 有数据就更新 bufferText += event.data; aiResponseDiv.innerHTML = marked.parse(bufferText); chatArea.scrollTop = chatArea.scrollHeight; }; eventSource.onerror = function() { // 只要出错或者连接结束,就解锁输入 eventSource.close(); finishReceiving(); }; questionInput.value = ''; } function finishReceiving() { isReceiving = false; questionInput.disabled = false; sendButton.disabled = false; questionInput.focus(); } // 按下 Enter 键发送 questionInput.addEventListener('keydown', function(event) { if (event.key === 'Enter') { event.preventDefault(); sendQuestion(); } });这段前端 HTML+JS 代码的作用是:
使用 SSE 实时接收 AI 回复:
- 用 EventSource 发起 /chat?question=xxx 请求;
- 后端返回的每一段 data: 内容都会实时追加到 bufferText;
- 通过 marked.js 将 Markdown 格式转为 HTML;
- 最终流式更新显示在 AI 回复区,实现“打字机式”体验。
三、WebSocket 协议实现的 AI 对话
什么是 WebSocket?
WebSocket 是一种支持 双向通信 的长连接协议,适合需要持续交互的前后端应用。
- 特点:
- 建立后是持久连接,效率更高;
- 支持客户端主动发消息,服务端主动推送;
- 可用于实现多人对话、在线协作编辑等复杂互动场景;
- 相比 SSE,WebSocket 更灵活、功能更全面。
总结:WebSocket 更适合复杂、多用户、双向互动的 AI 对话系统。
实现流程概述
1. 后端 Golang 服务
同样是在main.go中实现我们的核心代码,这里我们需要引用websocket的包,所以需要先执行创建go mod导入websocket的开源库
# 初始化仓库名
# xxx 为你想要的仓库名
go init xxx
# 导入websocket
go get github.com/gorilla/websocket
main.go 核心代码如下:
package main
import (
	"bufio"
	"bytes"
	"encoding/json"
	"fmt"
	"log"
	"net/http"
	"time"
	"github.com/gorilla/websocket"
)
type ChatRequest struct {
	Model    string `json:"model"`
	Stream   bool   `json:"stream"`
	Messages []struct {
		Role    string `json:"role"`
		Content string `json:"content"`
	} `json:"messages"`
}
var upgrader = websocket.Upgrader{
	CheckOrigin: func(r *http.Request) bool {
		return true
	},
}
func chatHandler(w http.ResponseWriter, r *http.Request) {
	conn, err := upgrader.Upgrade(w, r, nil)
	if err != nil {
		log.Println("Upgrade error:", err)
		return
	}
	defer conn.Close()
	fmt.Println("New connection")
	for {
		_, msg, err := conn.ReadMessage()
		if err != nil {
			log.Println("Read error:", err)
			break
		}
		fmt.Println("收到消息:", string(msg))
		userInput := string(msg)
		// 准备请求体
		reqData := ChatRequest{
			Model:  "deepseek-r1:8b",
			Stream: true,
		}
		reqData.Messages = append(reqData.Messages, struct {
			Role    string `json:"role"`
			Content string `json:"content"`
		}{
			Role:    "user",
			Content: userInput,
		})
		jsonData, err := json.Marshal(reqData)
		if err != nil {
			http.Error(w, "json marshal error", http.StatusInternalServerError)
			return
		}
		// 调用本地Ollama服务
		resp, err := http.Post("http://localhost:11434/api/chat", "application/json", bytes.NewBuffer(jsonData))
		if err != nil {
			http.Error(w, "call ollama error", http.StatusInternalServerError)
			return
		}
		defer resp.Body.Close()
		// 流式读取模型输出
		scanner := bufio.NewScanner(resp.Body)
		for scanner.Scan() {
			line := scanner.Text()
			if line == "" {
				continue
			}
			var chunk struct {
				Message struct {
					Content string `json:"content"`
				} `json:"message"`
				Done bool `json:"done"`
			}
			if err := json.Unmarshal([]byte(line), &chunk); err != nil {
				continue
			}
			err = conn.WriteMessage(websocket.TextMessage, []byte(chunk.Message.Content))
			if err != nil {
				log.Println("Write error:", err)
				break
			}
			time.Sleep(50 * time.Millisecond)
			if chunk.Done {
				break
			}
		}
	}
}
// 提供静态HTML页面
func homePage(w http.ResponseWriter, r *http.Request) {
	http.ServeFile(w, r, "./static/index.html") // 当前目录的index.html
}
func main() {
	http.HandleFunc("/", homePage)      // 网页入口
	http.HandleFunc("/ws", chatHandler) // WebSocket接口
	log.Println("服务器启动,访问:http://localhost:8080")
	log.Fatal(http.ListenAndServe(":8080", nil))
}
这个代码主要实现了如下的流程,通过websocket 实现前端和后端的互相通信。
- 接收前端 WebSocket 消息(用户提问)
- 前端连接 /ws,建立 WebSocket。
- 每当收到一个用户问题(纯文本),后端将它封装为一个符合 Ollama API 要求的请求体(ChatRequest)。
- 调用本地 Ollama 模型 API
- 使用 http.Post 调用 http://localhost:11434/api/chat,请求使用 deepseek-r1:8b 模型,开启 stream=true。
- 用户输入作为 message content,角色为 "user"。
- 流式读取 Ollama 回复,并通过 WebSocket 实时发回前端
- 使用 bufio.Scanner 按行读取流式响应(Ollama SSE 格式的响应);
- 每条非空响应行解析为 JSON,取出 chunk.Message.Content;
- 用 conn.WriteMessage(websocket.TextMessage, ...) 发送内容回前端;
- 加 50ms 延迟模拟人类打字节奏;
- 若响应中的 done == true,说明模型输出完成,跳出循环。
2. 前端页面
在 static 目录下,新建一个简单页面:
static/index.html:
🧠 AI 对话演示 (WebSocket版) body { margin: 0; height: 100vh; display: flex; flex-direction: column; font-family: "Helvetica Neue", Arial, sans-serif; background: #f0f2f5; } header { background: #4CAF50; color: white; padding: 15px 20px; font-size: 22px; font-weight: bold; box-shadow: 0 2px 4px rgba(0,0,0,0.1); } #chat-box { flex: 1; padding: 20px; overflow-y: auto; background: #e5e5e5; } .message { margin-bottom: 15px; display: flex; flex-direction: column; } .user, .ai { font-weight: bold; margin-bottom: 5px; } .user { color: #4CAF50; } .ai { color: #2196F3; } .text { background: #ffffff; padding: 12px; border-radius: 8px; max-width: 80%; white-space: pre-wrap; font-size: 16px; line-height: 1.6; border: 1px solid #ccc; } #input-area { display: flex; padding: 15px; background: #fff; border-top: 1px solid #ccc; } #question { flex: 1; padding: 10px; font-size: 16px; border: 1px solid #ccc; border-radius: 6px; } button { margin-left: 10px; padding: 10px 20px; font-size: 16px; background: #4CAF50; color: white; border: none; border-radius: 6px; cursor: pointer; } button:hover { background: #45a049; } 🧠 AI 对话演示 (WebSocket版)发送let socket = null; const chatBox = document.getElementById('chat-box'); const inputField = document.getElementById('question'); const sendButton = document.querySelector('button'); let currentAIMessage = null; let isReceiving = false; let messageBufferTimer = null; // 消息缓冲检测器 function connectWebSocket() { socket = new WebSocket("ws://localhost:8080/ws"); socket.onopen = function() { console.log("WebSocket连接成功"); }; socket.onmessage = function(event) { if (!currentAIMessage) { currentAIMessage = document.createElement('div'); currentAIMessage.className = 'message'; currentAIMessage.innerHTML = ` 🤖 AI `; chatBox.appendChild(currentAIMessage); } const aiTextDiv = currentAIMessage.querySelector('.text'); aiTextDiv.innerText += event.data; chatBox.scrollTop = chatBox.scrollHeight; // 每次收到消息就重置计时器 if (messageBufferTimer) { clearTimeout(messageBufferTimer); } messageBufferTimer = setTimeout(() => { finishReceiving(); }, 500); // 如果500ms内没有新消息,认为这次回答结束 }; socket.onclose = function() { console.log("WebSocket连接关闭"); finishReceiving(); }; socket.onerror = function(error) { console.error("WebSocket错误:", error); finishReceiving(); }; } function sendQuestion() { const question = inputField.value.trim(); if (!question || isReceiving) { return; } if (!socket || socket.readyState !== WebSocket.OPEN) { connectWebSocket(); setTimeout(() => { sendMessage(question); }, 500); // 等待连接 } else { sendMessage(question); } inputField.value = ''; } function sendMessage(question) { // 禁用输入,防止再次发送 isReceiving = true; inputField.disabled = true; sendButton.disabled = true; // 显示用户消息 const userMessage = document.createElement('div'); userMessage.className = 'message'; userMessage.innerHTML = ` 👤 你 ${question} `; chatBox.appendChild(userMessage); chatBox.scrollTop = chatBox.scrollHeight; // 发送消息 socket.send(question); // 创建新的AI消息占位 currentAIMessage = document.createElement('div'); currentAIMessage.className = 'message'; currentAIMessage.innerHTML = ` 🤖 AI `; chatBox.appendChild(currentAIMessage); chatBox.scrollTop = chatBox.scrollHeight; } function finishReceiving() { isReceiving = false; inputField.disabled = false; sendButton.disabled = false; currentAIMessage = null; inputField.focus(); } inputField.addEventListener('keydown', function(event) { if (event.key === 'Enter') { event.preventDefault(); sendQuestion(); } }); connectWebSocket();该部分代码的主要功能如下:
-
建立 WebSocket 连接
socket = new WebSocket("ws://localhost:8080/ws");自动连接后端 WebSocket 服务端点 /ws。
-
发送用户问题
- 用户输入内容后点击“发送”或按回车键。
- 调用 sendQuestion() -> sendMessage() 将问题通过 socket.send(question) 发送到后端。
-
实时接收 AI 回答(流式)
- socket.onmessage 每次收到一段模型回复内容。
- 累加到 AI 消息框中,实现“逐字推送”的流式显示效果。
- 若 500ms 内未再收到新消息,则自动认为回答结束,解锁输入。
四、演示效果
SSE 实现效果:
页面流畅展示模型逐字生成过程,无卡顿,体验接近 ChatGPT
WebSocket 实现效果:
支持完整的输入-回复闭环,并实时回显模型结果
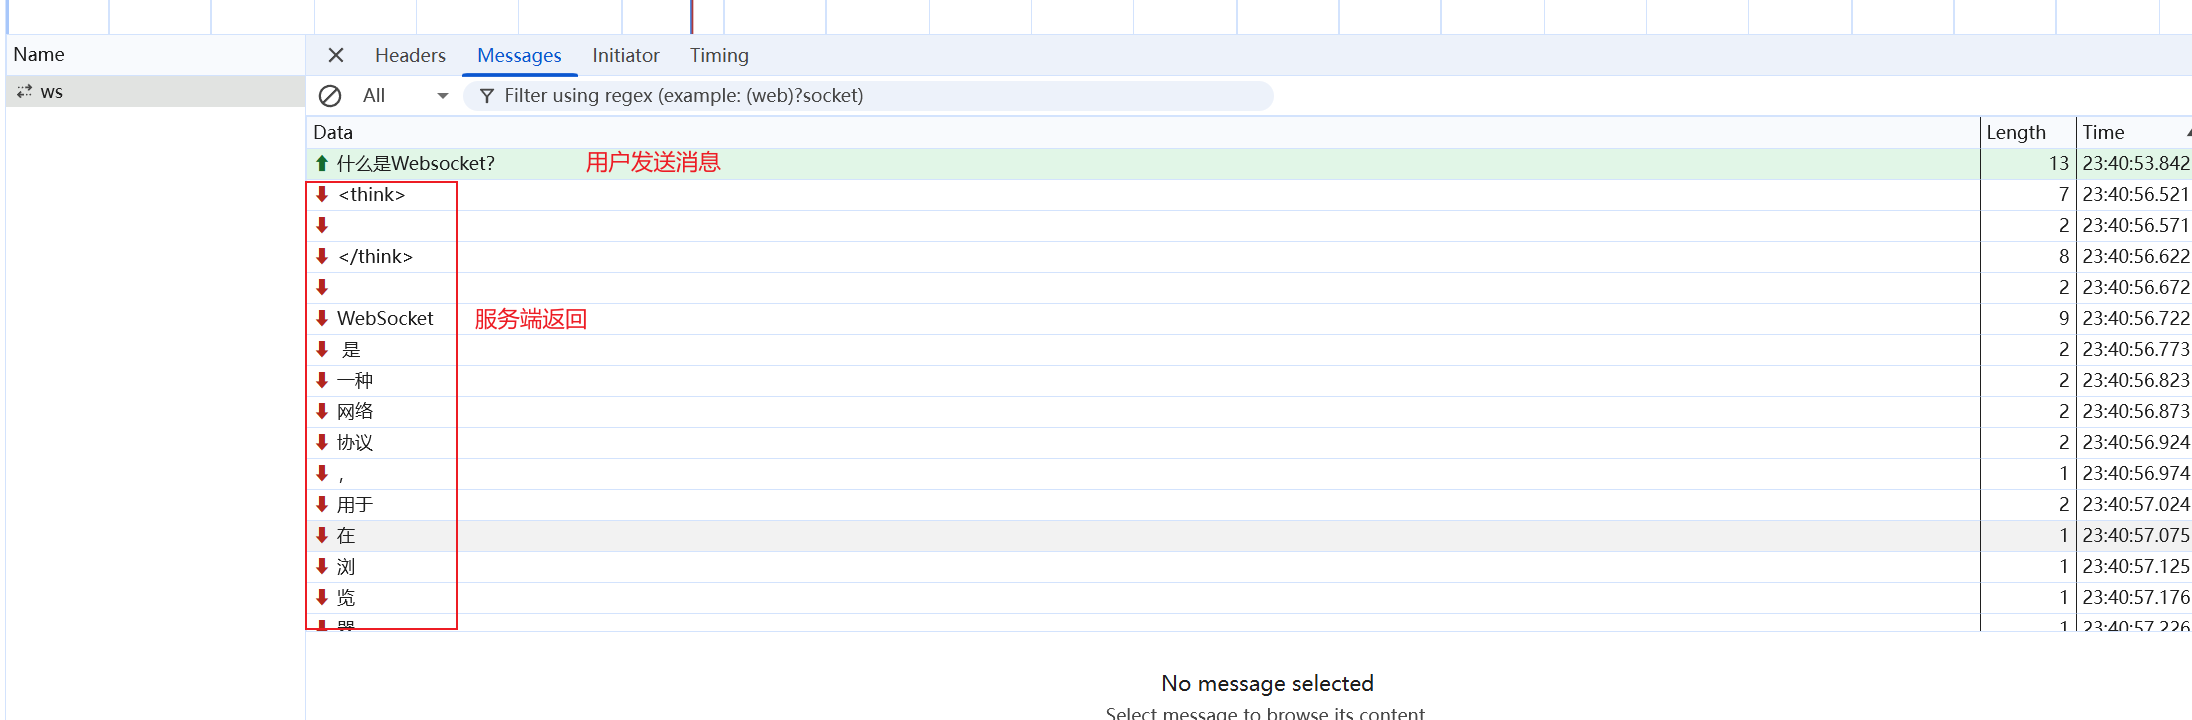
相比之下,虽然视觉效果相似,但 WebSocket 的底层机制更强大。
下图展示了两种方式的信息流对比:
五、总结
通过本文实战,我们完成了以下技术点:
- 使用 Golang 后端对接本地部署的大模型 Ollama;
- 掌握两种主流流式推送协议 —— SSE 和 WebSocket;
- 实现网页端 AI 对话演示系统,体验与 ChatGPT 相似的效果;
- 理解了两种协议的优劣与适用场景,为后续拓展(如上下文记忆、多用户对话等)打下基础。
在下一篇中,我们将继续探索:如何让聊天具备上下文记忆能力,让对话真正实现连续性与智能化。
参考文献
【万字详解,带你彻底掌握 WebSocket 用法(至尊典藏版)写的不错】
【Server-Sent Events 的协议细节和实现】
【Spring AI 与前端技术融合:打造网页聊天 AI 的实战指南】
【基于 Golang Fiber 实现 AI 领域的 SSE 流式通信实践】
-
- 特点:
-


